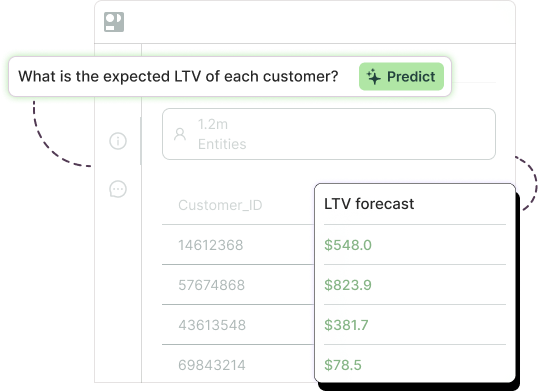
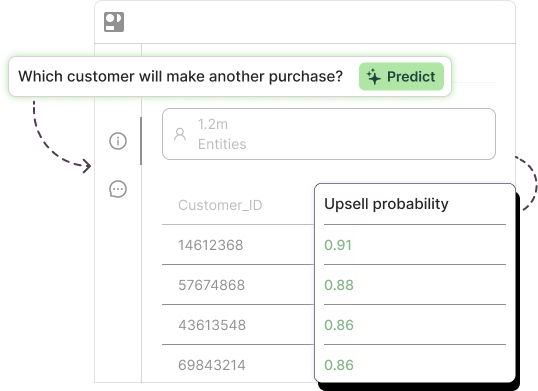
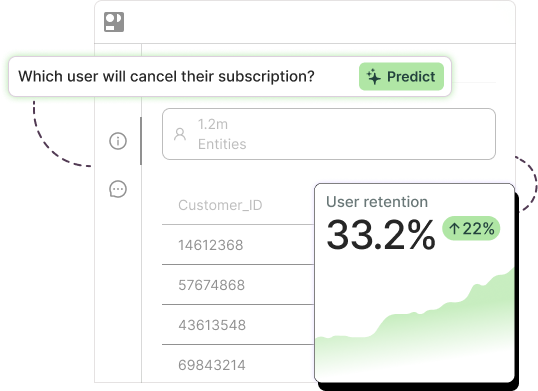
Building, training, and deploying a machine learning model comes down to five steps:
- Define the problem and the prediction target
- Collect and prepare the data
- Build and train the model
- Evaluate the model before you trust it
- Deploy, monitor, and retrain
Before we walk through them, one opinion earned from watching a lot of these projects: the step that decides whether your model creates value is the first one, and the step where most models die is the last one. Training, the part every tutorial obsesses over, is the most automated and least differentiating part of the whole exercise. Teams that nail the problem definition and plan for deployment from day one ship useful models; teams that treat those as afterthoughts produce impressive notebooks that never touch a business decision.
There’s more than one way to build your own AI model, so at each step we’ll show two honest paths: the code path (Python and friends) and the no-code path (a platform like ours). Both are legitimate. Which one fits depends on your team, your timeline, and who has to maintain the thing in year two.

Step 1: Define the problem and the prediction target
A machine learning model answers exactly one question, so the question has to be worth answering and precisely posed. “Understand churn” is not a prediction target. “For each active subscriber on the 1st of the month, predict the probability they cancel within the next 60 days” is. A well-formed target specifies four things: the population (which entities get a prediction), the outcome (what event or value), the time window (predicted over what horizon), and the decision it feeds (who does what differently when the score is high).
That last one is the filter that kills vanity projects. If nobody can name the action a prediction triggers, stop here and pick a different question. It’s also where you set the prediction cadence: a weekly-refreshed score list serves a retention team fine; a fraud check needs an answer in milliseconds. That choice shapes everything downstream, especially deployment.
Code path: this step is thinking, not coding. Write the target definition down; it becomes your label logic. No-code path: identical thinking. In Pecan, you express it as the business question itself, and the platform translates it into the formal predictive objective.
Step 2: Collect and prepare the data
Model training needs one thing: a training table where each row is an entity (a customer, a SKU, a transaction), the columns are features known before the prediction moment, and one column is the label, the historical outcome you’re teaching the model to predict.
Getting there is the bulk of the project. You’ll gather raw tables (transactions, events, attributes), join them on the right keys, aggregate event streams into per-entity features (orders in the last 30 days, days since last login, spend trend), handle missing values, and, critically, respect time: every feature must be computed as of the prediction date, never after it, or you’ve leaked the answer into the question. This transformation of raw columns into predictive signals is feature engineering, and automated feature engineering exists precisely because doing it manually is slow and doing it wrong is invisible until production.
An aggregate observation from across our customer projects: data preparation typically eats half or more of total project time on the code path, with modeling itself a modest slice and deployment claiming the rest. That ratio surprises every first-time team, and it’s the single biggest reason timelines slip.
Code path: pandas or SQL for joins and aggregations, scikit-learn transformers for encoding and imputation, and a lot of care around timestamp logic. No-code path: connect raw tables from your warehouse (Snowflake, BigQuery, Redshift, Databricks) and the platform handles joins, time-window aggregation, and leakage-safe feature generation automatically. Messy real-world data is the expected input, not a blocker.

Step 3: Build and train the model
With the training table ready, model training means showing an algorithm the historical rows and letting it learn the mapping from features to label. Your target type picks the family: predicting a category (will churn / won’t churn) is classification, predicting a quantity (next-quarter revenue, units of demand) is regression, both from the supervised branch of the types of machine learning.
For tabular business data, the pragmatic truth in 2026 is that gradient-boosted tree models (CatBoost, LightGBM, XGBoost) win most of the time: they handle mixed data types, missing values, and non-linear interactions with minimal fuss, and they train fast. Deep learning earns its complexity on images, text, and audio; on a customer table, it’s usually extra cost for equal or worse results. Train on one time slice of history, tune a few hyperparameters if needed, and resist the urge to chase decimal points on the training set, because training-set performance is not the goal. Which brings us to step 4.
Code path: scikit-learn for the harness, LightGBM or CatBoost for the model, a few dozen lines once the table exists. No-code path: the platform trains and compares candidate models automatically and picks the best performer against a held-out period. In Pecan, this is where our predictive engine, refined across thousands of real deployments, does the selection and tuning for you.
Step 4: Evaluate the model before you trust it
Evaluation answers one question: will this model perform on data it has never seen? So the cardinal rule is to measure on a holdout set, ideally out-of-time (train on January through September, test on October onward), because your model’s actual job is predicting the future, and the future is, inconveniently, always a different time period than the past.
The metrics that matter for a classifier: precision (of those flagged, how many were right), recall (of the real cases, how many were caught), AUC (how well the model ranks, 0.5 is a coin flip), and lift (how much better the top-scored group is than random, the number a marketing team can spend against). For regression, error measures like MAPE or RMSE against a naive baseline. And in every case, one comparison sits above all others: the gap between training and validation performance, which tells you whether the model learned patterns or memorized answers. A large gap means overfitting and underfitting issues that must be fixed before anything ships. Near-perfect scores deserve suspicion, not celebration; they usually indicate leakage.
Code path: scikit-learn metrics plus discipline about your splits; the discipline is the hard part. No-code path: time-based holdout, leakage detection, and validation reporting run automatically on every model, with the metrics presented next to a naive benchmark so you can see the lift.
Step 5: Deploy, monitor, and retrain
Deployment means the model’s predictions reach the place a decision gets made, on a schedule, without a human running a notebook. For most business use cases that’s batch scoring: the model scores the current population daily or weekly and writes results back to the warehouse, Salesforce, or HubSpot, where the CRM workflow or campaign tool picks them up. Real-time scoring (an API answering per-request, for fraud checks or on-site personalization) is the minority need and costs meaningfully more engineering; don’t pay for milliseconds when Monday morning is fine.
Then the unglamorous part that determines longevity: monitoring. Watch data drift (are the incoming features starting to look different from training data?), prediction drift (has the score distribution shifted?), and, where outcomes arrive quickly, realized accuracy. Alert on schema changes and upstream data failures, because the most common production incident is not a model getting dumber; it’s a source table silently changing. Retrain on a schedule (monthly or quarterly is typical) or on trigger when drift crosses a threshold. And decide ownership before launch: someone must own the model in production the way someone owns a dashboard, or drift alerts go to an inbox nobody reads. The industry name for this whole discipline is MLOps, which we’ll define properly in the FAQ.
Code path: a scheduler (Airflow, cron), a scoring job, write-back connectors, and monitoring you build or buy. No-code path: pick the destination and cadence; scoring, write-back, drift monitoring, and retraining alerts are part of the platform. This is honestly where the low-code AI and no-code category earns its keep most, because deployment infrastructure is exactly the work business teams can’t staff.

The machine learning pipeline, explained
A machine learning workflow is the sequence of activities above, the human-and-machine process. A machine learning pipeline is that workflow turned into connected, automated, repeatable stages: the engineered system that runs without anyone re-doing the work by hand.
The stages of a machine learning pipeline mirror the five steps: data ingestion (pulling fresh source data on schedule), data preparation and feature computation (the same transformations, applied identically every run), training (periodic retraining on the newest window), validation (automated checks that a new model beats the incumbent before it replaces it), deployment (promoting the winner to scoring), and scoring plus monitoring (producing predictions and watching their health).
What automation means at each stage is worth spelling out, because “automated pipeline” gets used loosely. At ingestion, it means new data flows in without manual exports. At preparation, it means feature logic is code or configuration, not a spreadsheet ritual, so training-time and scoring-time features can’t quietly diverge (a classic, painful bug). At training and validation, it means retraining is a scheduled event with automatic quality gates, not a quarterly project. At deployment, it means the new model swaps in without downtime. A fully automated pipeline is what lets one analyst operate what used to take a team, and it’s the difference between a model you built once and a prediction capability you own.
Why most models never make it to production
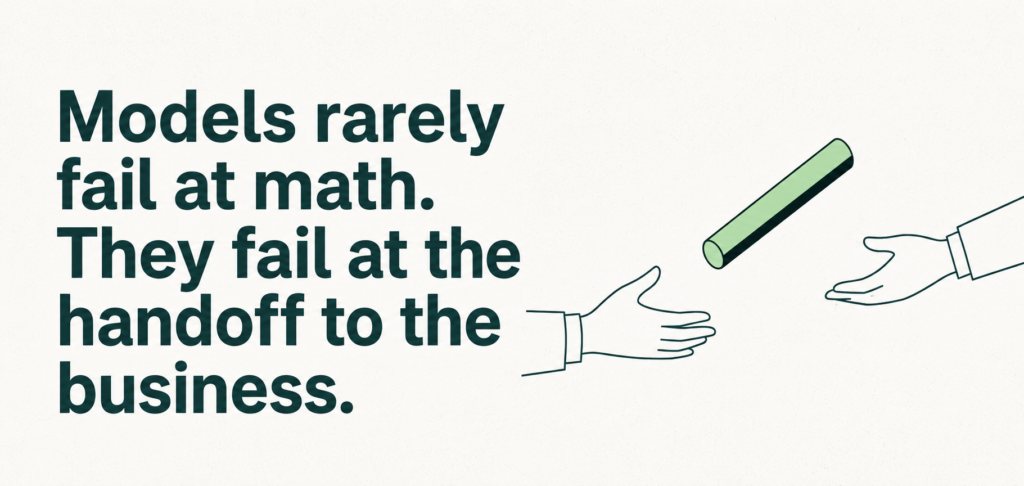
The uncomfortable industry statistic, cited in various forms for years, is that a large share of machine learning models never reach production. Having watched the pattern up close, the causes are rarely mathematical. Models die in the gap between the notebook and the business for four repeatable reasons.
First, no decision owner: the model predicts something nobody had committed to acting on (a step 1 failure surfacing months later). Second, the deployment gap: the team that built the model can’t build schedulers, connectors, and monitoring, and the engineering team that could has other priorities, so the model waits in a queue until the sponsor moves on. Third, trust: planners and marketers won’t act on scores they can’t interrogate, and a model launched without explanations or a side-by-side trial period gets politely ignored. Fourth, decay: a model that does launch but has no monitoring or retraining quietly degrades, someone eventually notices a bad quarter of predictions, and the whole initiative gets branded a failure.
Every one of those four is addressable with the process in this guide: define the decision first, plan the deployment path before training, run the model alongside the incumbent to build trust, and treat monitoring as part of the build, not a follow-up ticket.
There’s also a proof point we can offer from an unusual angle: ourselves. When our own revenue team wanted better lead prioritization, we used our platform end to end, from question to deployed scores in the CRM, and improved lead conversion by 3x. Yes, of course we’d use our own product; the reason it’s worth citing is that the entire loop (target definition, training, validation, CRM write-back, action by sales) is the loop this article describes, run in production, with the outcome measured where it counts.
Worked example: churn prediction from problem to deployment
Let’s run one project through all five steps, concretely.
The problem statement (step 1): for every subscriber active on the 1st of each month, predict the probability they cancel within the following 60 days. Population: active subscribers. Outcome: cancellation. Window: 60 days. Decision: subscribers above a risk threshold enter the retention team’s outreach queue.
The training table (step 2): one row per subscriber per historical monthly snapshot. Features computed as of each snapshot date: tenure, plan and price, sessions in the last 30 days, trend in weekly usage, support tickets in the last 90 days, days since last login, payment failures. Label: did this subscriber cancel in the 60 days after the snapshot (1/0). Twenty-four months of snapshots gives the model many thousands of examples, including seasonal variation.
Training (step 3): a gradient-boosted classifier on snapshots from months 1 through 18.
Evaluation (step 4): validate on months 19 through 24, which the model never saw. Realistic numbers to expect for a decent first churn model: AUC around 0.8, and lift of 3 to 5x in the top decile, meaning the riskiest 10% of subscribers contain 3 to 5 times their share of actual churners. If you see AUC 0.99, don’t celebrate; audit for leakage (a “cancellation date” column or a post-cancellation flag hiding among the features is the usual culprit).
Deployment (step 5): on the 1st of each month, the pipeline recomputes features, scores every active subscriber, and writes the ranked list into the CRM, where the top segment flows into the retention campaign automatically. Monitoring watches feature drift and, since churn outcomes resolve within 60 days, tracks realized precision every month. Retraining runs quarterly. The deployed output the business sees is refreshingly boring: a scored list, refreshed monthly, that the retention team actually uses. Boring, used, and measurable beats sophisticated and shelved every single time.
For a sense of pace when the pipeline work is handled by a platform: across our customer projects, the typical journey from first data connection to first deployed model is measured in days to a couple of weeks, and one grocery delivery app got predictive models to market 10x faster than their previous in-house efforts, with the first accurate model live in days rather than months.
Ready to try the five steps on your own data? Book a demo and we’ll scope your first model with you; most teams see their first trained model within days of connecting data.
How long does it take to build and deploy a machine learning model?
What is a machine learning pipeline?
How do you deploy a machine learning model?
Do you need a data scientist to build a machine learning model?
What is MLOps?